Arquivo de Sobremesas – Receitas | Vintage birthday cakes, Birthday cake decorating, Vintage cake
Introduction to Arquivo de Sobremesas – Receitas | Vintage birthday cakes, Birthday cake decorating, Vintage cake:
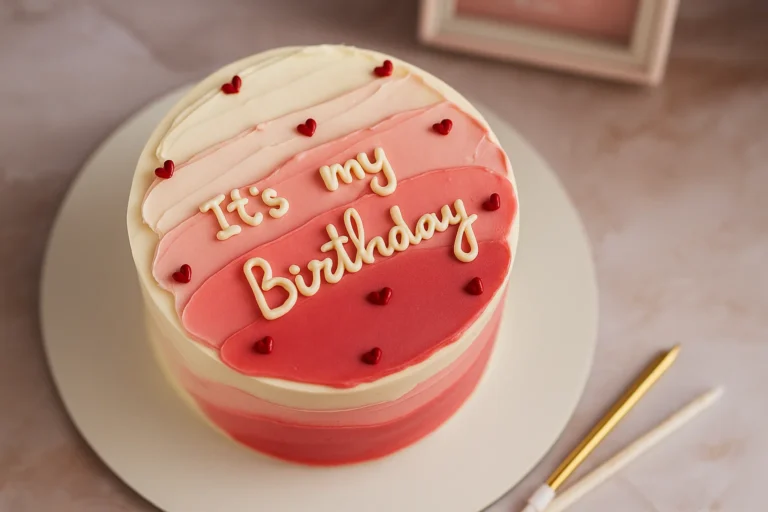
When it comes to celebrating special moments, few things evoke nostalgia quite like a beautifully decorated vintage birthday cake. These cakes are not just desserts; they are masterpieces that capture the essence of celebration and togetherness. The birthday cake has evolved through the years, transforming from simple sweet treats into grand works of art, filled with rich flavors and adorned with intricate designs. This article takes you on a flavorful journey through the Arquivo de Sobremesas, showcasing some delightful vintage birthday cake recipes, decorating tips, and everything you need to create your own show-stopping cake.
Whether you are a novice baker or an experienced cook, vintage birthday cakes can rekindle your love for baking. This article is designed to inspire busy parents looking for quick ideas, students navigating their first baking endeavors, or working professionals wanting to create memorable moments without spending too much time in the kitchen. With each recipe providing a unique twist on traditional techniques, you will discover that crafting these cakes is not only enjoyable but also incredibly rewarding.
Join us as we dive deeper into the art of preparing vintage birthday cakes. You’ll learn about the essential ingredients, tips for dietary substitutions, and how to store your creations properly. You’ll even find advanced techniques to elevate your baking game. Get ready to impress your friends and family with a stunning, flavorful, and nostalgic vintage birthday cake!
Benefits and Advantages of Arquivo de Sobremesas – Receitas | Vintage birthday cakes, Birthday cake decorating, Vintage cake:
Creating a vintage birthday cake is about more than just satisfying a sweet tooth; it is an opportunity to express love, creativity, and tradition. Here are several benefits and advantages of making these beautiful cakes:
- Culinary Creativity: Baking vintage birthday cakes allows you to explore different flavor combinations, textures, and decorative techniques. You can express your individuality and taste by choosing ingredients that resonate with you.
- Emotional Connection: Vintage cakes evoke cherished memories of birthdays past. Using traditional recipes often passed down through generations creates a sense of nostalgia, making every cake a sentimental piece of art.
- Customization Options: With various dietary needs becoming prevalent, vintage birthday cakes can be easily modified. By substituting certain ingredients, you can cater to gluten-free, vegan, and low-sugar diets while maintaining beautiful aesthetics and delightful flavors.
- Family Bonding: Baking together as a family can be a fun bonding experience. Engaging your loved ones in the cake-making process can create lasting memories and teach children essential kitchen skills.
- Showcasing Skills: A well-decorated vintage birthday cake is a centerpiece that can showcase your baking skills. It provides a sense of accomplishment to present a cake you made with your own hands, inviting compliments from friends and family.
- Versatile Designs: Vintage birthday cake decorating often involves beautiful, intricate designs and colors. This versatility means the cakes can suit any theme, whether it’s a child’s birthday party, a wedding, or a holiday gathering.
- Stress Relief: Baking can be therapeutic. The process of measuring, mixing, and shaping the cake can provide a sense of calm and accomplishment in an often hectic world.
In essence, baking and decorating vintage birthday cakes offer not just deliciousness but also a meaningful way to connect with culture and family. The rewards and benefits are plentiful, making it an engaging experience for anyone involved.
Ingredients Overview
Essential Ingredients for Arquivo de Sobremesas – Receitas | Vintage birthday cakes, Birthday cake decorating, Vintage cake:
To truly capture the essence of a vintage birthday cake, it’s crucial to use fresh and high-quality ingredients. Here’s a list of those essentials, along with their importance:
- All-Purpose Flour (3 cups): This provides the foundation of your cake. It ensures the right texture and structurefluffy yet sturdy enough to hold layers and decorations.
- Granulated Sugar (2 cups): Sugar not only sweetens the cake but also helps tenderize the batter and amplify flavors. This ingredient is key to achieving that moist, decadent texture.
- Butter (1 cup, unsalted, softened): Butter contributes richness, flavor, and moisture. It enhances the cake’s overall taste and helps achieve a light, airy crumb.
- Eggs (4 large): These are crucial for binding ingredients and adding moisture. Eggs also help achieve the desired rise and incorporate air into the batter for a fluffy texture.
- Milk (1 cup): This adds moisture and helps create a tender cake. Whole milk will lend a richer flavor, while alternative milks can be used for substitutions.
- Baking Powder (2 tsp): This leavening agent ensures your cake rises correctly, giving it a light and fluffy texture.
- Vanilla Extract (2 tsp): A favorite for flavoring, vanilla is an essential ingredient that adds depth and enhances the overall taste profile of your cake.
- Salt (1 tsp): A small but significant component, salt balances the sweetness and enhances the flavor of the other ingredients.
Dietary Substitutions to Customize Your Arquivo de Sobremesas – Receitas | Vintage birthday cakes, Birthday cake decorating, Vintage cake:
Understanding dietary needs doesn’t mean you have to compromise on taste or presentation. Here are some practical substitutions to customize your vintage birthday cake:
- Gluten-Free: Swap out all-purpose flour with a blend of gluten-free flour (such as almond flour or a pre-mixed gluten-free baking flour). Add a bit of xanthan gum to achieve the right texture.
- Dairy-Free/Vegan: Replace butter with coconut oil or vegan butter, and use flaxseed meal or applesauce as a binder instead of eggs. Non-dairy milk, such as almond or oat milk, can replace whole milk. Opt for vanilla extract to maintain flavor.
- Low-Sugar: Substitute granulated sugar with natural sweeteners like honey or agave syrup. You can also use stevia or erythritol for a low-calorie alternative that ensures sweetness without the carbs.
- Sugar-Free: For those requiring no sugar, use unsweetened applesauce or mashed bananas to add natural sweetness and moisture without compromising the cake’s integrity.
These substitutions prove that you can make a delightful vintage birthday cake that aligns with your dietary needs while still pleasing everyone at the table!
How to Prepare the Perfect Arquivo de Sobremesas – Receitas | Vintage birthday cakes, Birthday cake decorating, Vintage cake: Step-by-Step Guide:
Creating a vintage birthday cake involves careful preparation and love. Follow these steps to ensure your cake is not only beautiful but also delicious!
First Step: Preheat your oven to 350°F (175°C). This ensures that your cake bakes evenly and rises properly.
Second Step: Prepare your cake pans. Grease and flour two 9-inch round cake pans. Alternatively, you can line the bottoms with parchment paper for easier removal after baking.
Third Step: In a large mixing bowl, cream together the softened butter and granulated sugar. Beat until the mixture is light and fluffy, which should take about 3-5 minutes.
Fourth Step: Add the eggs one at a time, mixing well after each addition. This helps to incorporate air, leading to a better rise.
Fifth Step: Mix in the vanilla extract. This will infuse your batter with delightful flavor.
Sixth Step: In a separate bowl, combine the all-purpose flour, baking powder, and salt. Whisk these dry ingredients together to ensure they are evenly distributed.
Seventh Step: Alternately add the flour mixture and milk into the butter-sugar mixture. Start and end with the flour mixture. Mix gently until just combined; overmixing can result in a dense cake.
Eighth Step: Divide the batter evenly between the prepared cake pans. Smooth the tops with a spatula for even baking.
Ninth Step: Bake the cakes in the preheated oven for 25-30 minutes. A toothpick inserted in the center should come out clean when the cakes are done.
Tenth Step: Allow the cakes to cool in the pans for about 10 minutes. Then, turn them out onto a wire rack to cool completely.
Eleventh Step: Once cool, level the tops of the cakes if necessary to create even layers. This step is crucial if you want a beautiful layered cake.
Twelfth Step: Prepare your favorite buttercream or cream cheese frosting. A classic vanilla buttercream pairs wonderfully with vintage cakes.
Thirteenth Step: Place one cake layer on a serving plate and spread a generous layer of frosting on top. Add any fillings, fruits, or additional flavors if desired before placing the second layer on top.
Fourteenth Step: Frost the top and sides of the cake evenly with your prepared frosting. This creates a smooth and elegant finish.
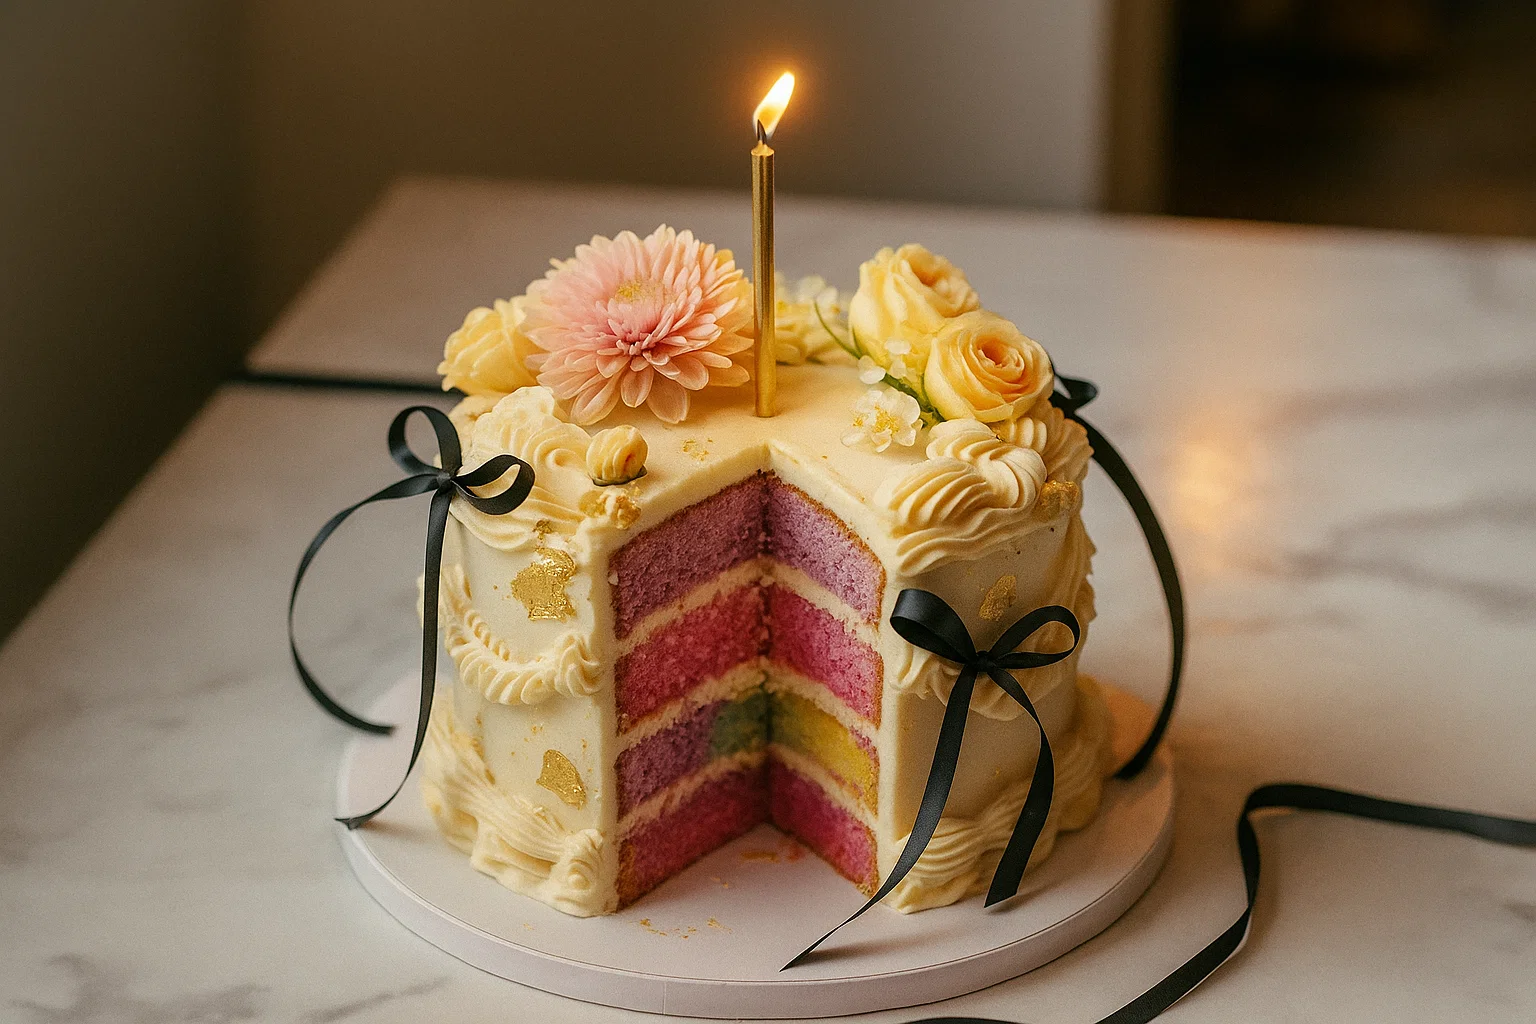
Fifteenth Step: Decorate your cake as desired! Use vintage-style decorations like edible flowers, fruit, or artful piping to create a stunning design.
Sixteenth Step: Allow your cake to set for at least 30 minutes before slicing and serving. This will help the frosting firm up and give you cleaner slices.
By following these steps, you’ll create a vintage birthday cake that beautifully balances nostalgia with modern baking techniquesperfect for any celebration!
Mastering Arquivo de Sobremesas – Receitas | Vintage birthday cakes, Birthday cake decorating, Vintage cake: Advanced Tips and Variations:
Now that you’ve mastered the basics of creating a vintage birthday cake, it’s time to elevate your skills! Here are some advanced tips and variations to help you impress your guests even further.
- Experiment with Flavors: While classic vanilla is always a winner, try infusing your cake with unexpected flavors like lavender, lemon, or almond. These can provide a refreshing twist.
- Layering Techniques: Use multiple layers to create a more impressive cake. Consider alternating flavors between layers, such as chocolate and vanilla, to surprise your guests.
- Intricate Decorations: Delve into advanced cake decorating techniques, such as fondant work, sugar flowers, or intricate piping designs. Online tutorials can guide you through these artistic endeavors.
- Fillings for Surprise: Create layers of flavor by adding fillings between cake layers. Options include fruit preserves, fresh berries, or flavored creams that complement the cake flavors.
- Themed Designs: Match your cake’s design with the birthday celebration theme. For instance, create a woodland fairy cake with edible leaves, mushrooms, and flower decorations.
- Advanced Frosting Techniques: Master the art of smoothing frosting for a clean finish, or try rosette decorations for a stunning appearance. Consider using a cake comb for unique textures.
- Decorate with Seasonal Ingredients: Use seasonal fruits, such as strawberries in summer or pumpkin in fall, to elevate the flavors and aesthetics of your cake.
Utilizing these advanced techniques will take your vintage birthday cake from lovely to extraordinary, and your guests are sure to be delighted by both the taste and the presentation.
How to Store Arquivo de Sobremesas – Receitas | Vintage birthday cakes, Birthday cake decorating, Vintage cake: Best Practices:
To ensure your vintage birthday cake remains fresh and delicious, proper storage is essential. Follow these best practices:
- Room Temperature: If you plan to eat the cake within a couple of days, store it in an airtight container at room temperature. This keeps the frosting from losing moisture.
- Refrigeration: If the cake has perishable fillings or frostings, store it in the refrigerator. Place it in an airtight container to prevent it from absorbing odors from other foods.
- Freezing: If you want to make the cake ahead of time, you can freeze the individual layers. Cool them completely and then wrap them tightly in plastic wrap before putting them into a freezer bag. When ready to use, simply thaw and frost the layers.
- Storing Leftovers: Refrigerate any leftover cake in an airtight container. It’s best consumed within a few days for optimal freshness, but it typically lasts up to a week if stored properly.
By mastering the art of storing your vintage birthday cake correctly, you can enjoy it for longer while maintaining its delightful flavors and textures.
Nutritional Value of Arquivo de Sobremesas – Receitas | Vintage birthday cakes, Birthday cake decorating, Vintage cake:
Understanding the nutritional value of your vintage birthday cake can help you and your guests enjoy it guilt-free. Below is a table summarizing the approximate nutritional information for one slice (1/12 of a 9-inch round cake) of a classic vintage birthday cake with buttercream frosting.
| Nutrient | Amount per Serving |
|---|---|
| Calories | 350 |
| Total Fat | 15g |
| Saturated Fat | 9g |
| Trans Fat | 0g |
| Cholesterol | 50mg |
| Sodium | 180mg |
| Total Carbohydrates | 52g |
| Dietary Fiber | 1g |
| Sugars | 30g |
| Protein | 3g |
Keep in mind that variations in recipes, especially with dietary substitutions, can affect these values. When modifying your cake based on dietary needs, adjust ingredients accordingly to suit your preferences without compromising on taste.
FAQs: Frequently Asked Questions About Arquivo de Sobremesas – Receitas | Vintage birthday cakes, Birthday cake decorating, Vintage cake:
Q: Can I make a vintage birthday cake ahead of time?
A: Absolutely! You can prepare the cake layers in advance and store them properly until you’re ready to frost and decorate.
Q: How long can I keep a vintage birthday cake?
A: When stored correctly, a homemade cake can last up to a week in the fridge. If frozen, it can last for several months.
Q: What are some decoration ideas for a vintage birthday cake?
A: Consider using edible flowers, fresh fruits, or intricate piping designs. Ribbons and vintage cake toppers can also add a special touch.
Q: How can I ensure my cake turns out fluffy?
A: Make sure not to overmix your batter, as this can lead to a dense cake. Using room temperature ingredients helps in combining them effortlessly for a lighter texture.
Q: What can I use instead of frosting for decoration?
A: You could use whipped cream, ganache, or a simple glaze. Layering fruits or nuts can also create a beautiful appearance without traditional frosting.
Creating a vintage birthday cake is a labor of love that comes with endless possibilities. Whether you’re experimenting with flavors or honing your decorating skills, this journey will not only satisfy your taste buds but also create memories for years to come. Enjoy the sweet art of cake-making!